Why Most Poultry Heaters Fail (And How We Fixed Ours)
Let’s be honest: poultry houses are absolute nightmares for electronics. Between the thick ammonia in the air and the constant dampness, it’s basically a chemistry experiment designed to destroy wiring. Most standard heaters just can’t hack it.
The “Green Rot” Problem
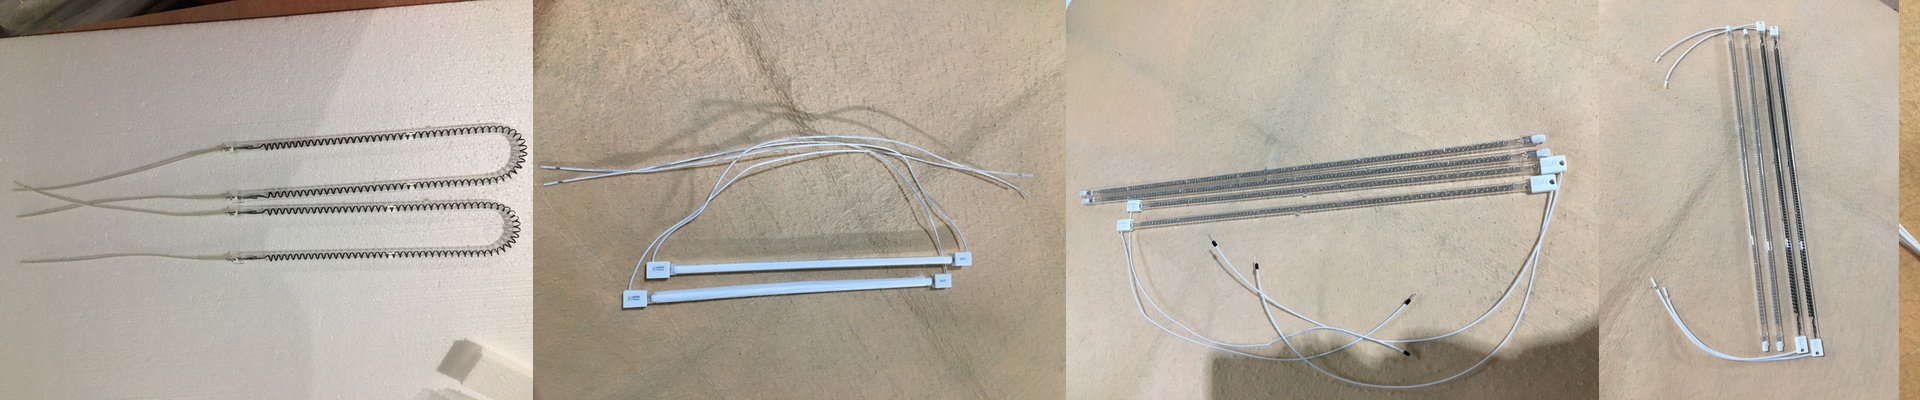
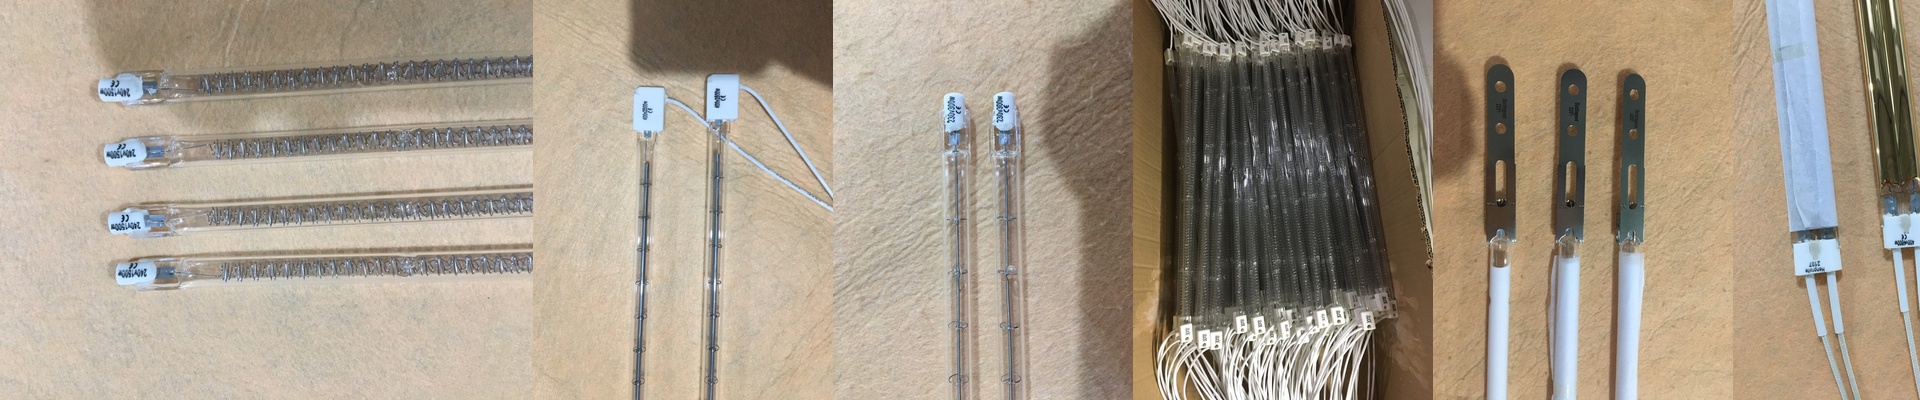
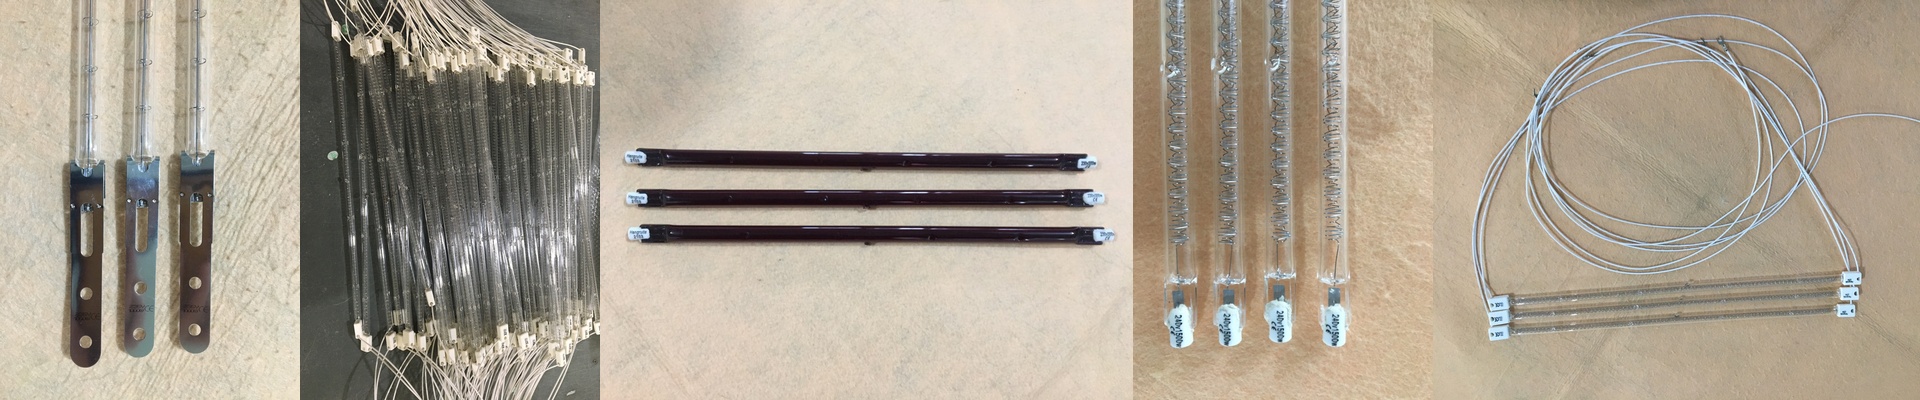
If you’ve ever looked at old copper wiring in a coop, you know that nasty green crust. That’s copper oxidation. It’s a silent killer. Once that happens, your resistance spikes, the wire gets hot, and then—pop—it burns out. We got tired of seeing that happen. So, we ditched the basic copper and moved to conductors with specialized shielding that actually fight back against corrosion. It keeps the electrical path clean and stable, even when the air feels like a steam room.
Keeping the Water Out
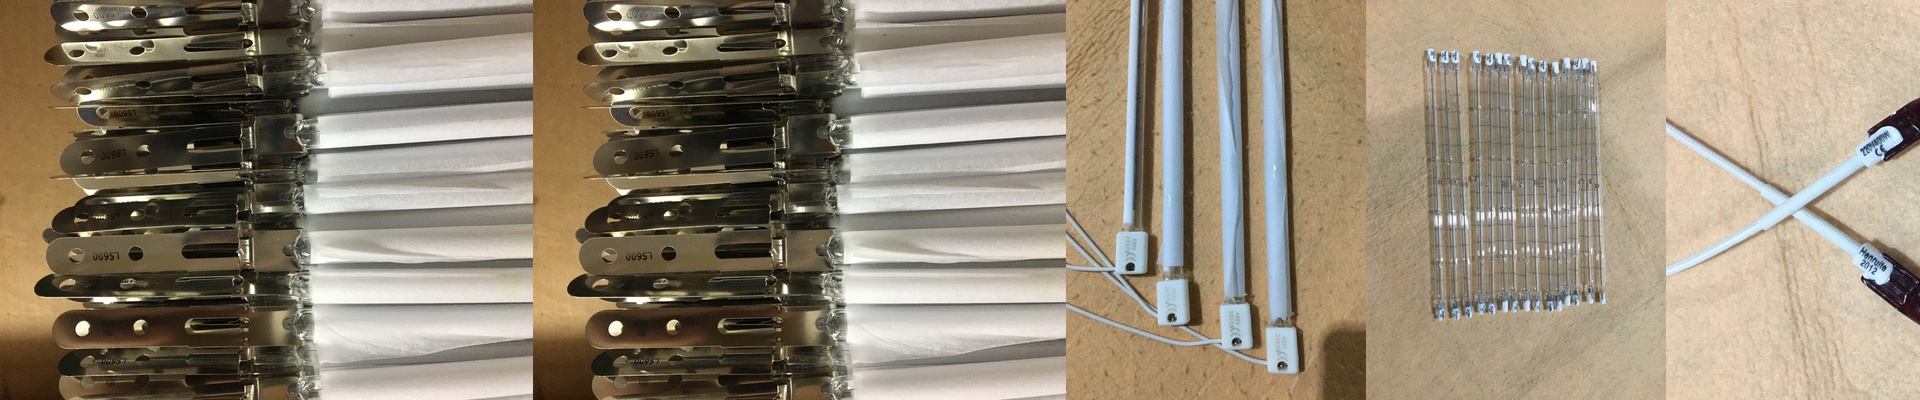
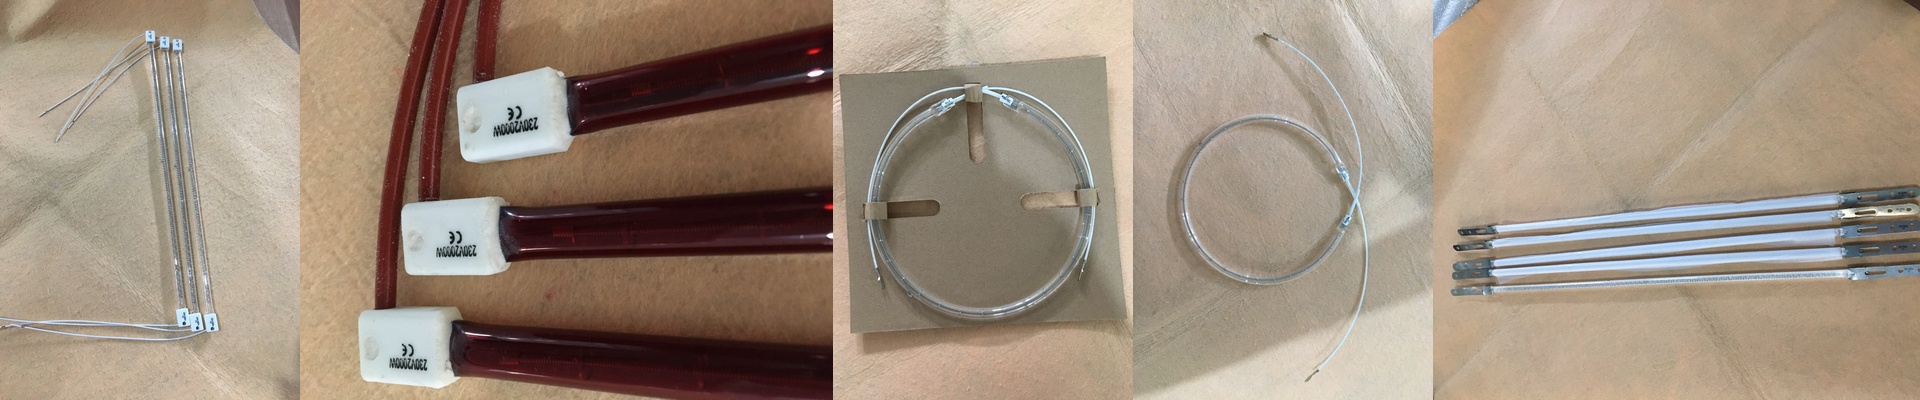
A heater is only as good as its seal. If even a tiny bit of moisture sneaks into the connector, you get arcing. Not exactly what you want hanging over your birds. We used a high-temp sealing process that basically locks the internals in a vault. It means you can hit these things with a pressure washer or deal with 100% humidity without worrying about a short circuit. They’re built to last, just like the expensive global brands you’re used to.
The Trade-off
Here’s the deal: you can’t have heavy-duty wiring and airtight seals without adding a bit of bulk. If you put our connector next to a cheap, unsealed one, ours looks a bit bigger. It’s a little heavier, too. But that’s the price of not having to climb a ladder to replace a burnt-out lamp every few months. Just make sure your mounting brackets can handle the extra weight, and you’re golden. We didn’t want to add any fluff. We just looked at the physics of the barn and used better materials where the heat hits the air. Now, you get consistent warmth across the whole brood area and a lot less downtime.